This awesome Tutorial is from SOMEDAYCRAFTS.BLOGSPOT.COM. Wonderfully creative blog-be sure you stop by there.
Here you are:
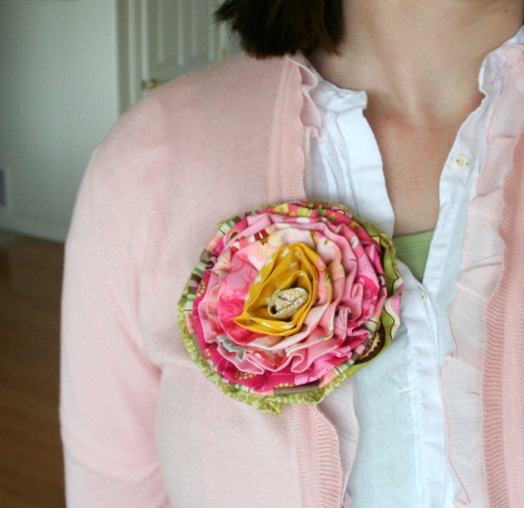
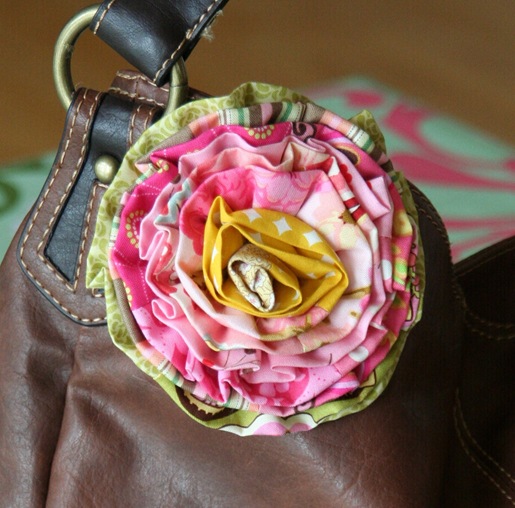
Today, we are going to make this cute flower that is easy to make and uses up any leftover binding strips or jelly roll scraps (for all you sewers out there!). Mine is attached to my bag as you can see, and it looks so cute that I almost forget my bag is full of diapers and crumbled goldfish crackers. Now on the tutorial…
First you’ll need:
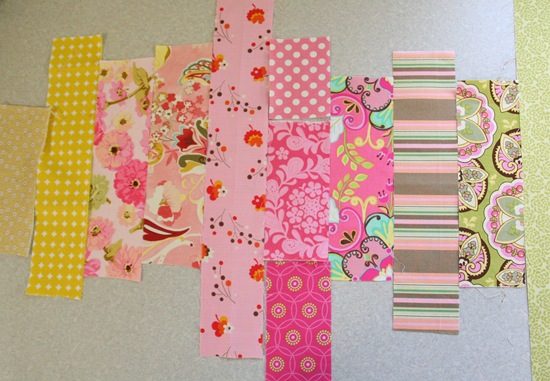
- 2.5” wide scraps of fabric in whatever colors your heart desires cut to various lengths. Mine were 3" long to 14" long. For fabric I used my leftover binding strips. My strips added up in length to about 2 yards, which made me a 5" flower. Add or take away strips or cut them shorter if you want a bigger or smaller flower. Shorter strips and more of them will make a more colorful flower.
- A sewing machine and a needle and thread.
-A piece of felt or other strong fabric, a hot glue gun, and a broach bracket.
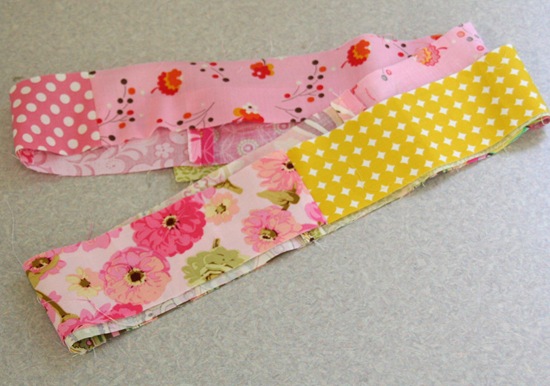
Here are my various 2.5" wide strips. Put them in order from the color you want in the center of the flower, to the outside of the flower. Now sew them all together end to end, and press seams open.
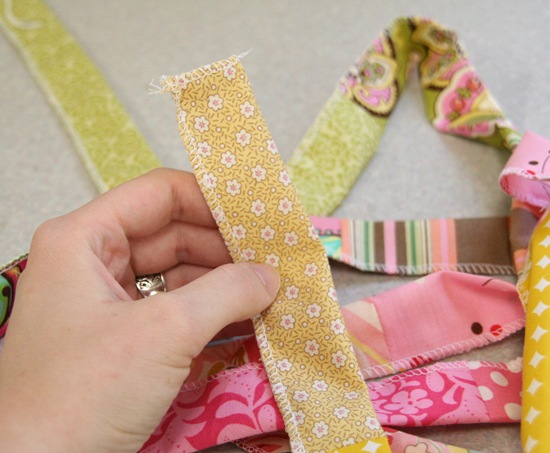
Now folding your strip in half as you go, serge OR sew a zig zag stitch down the raw edges. Do the same on the ends.
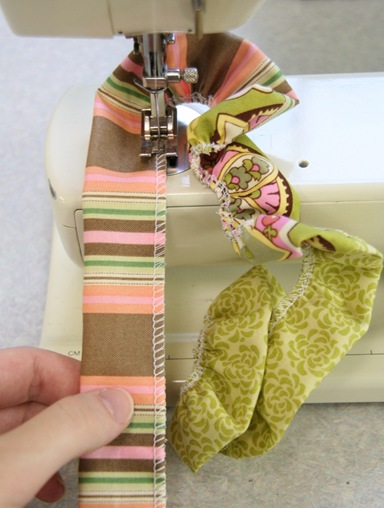
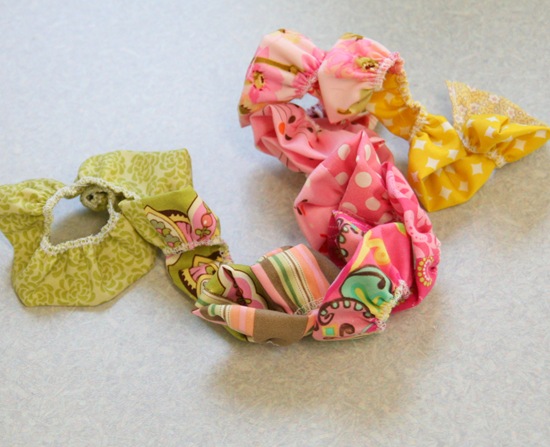
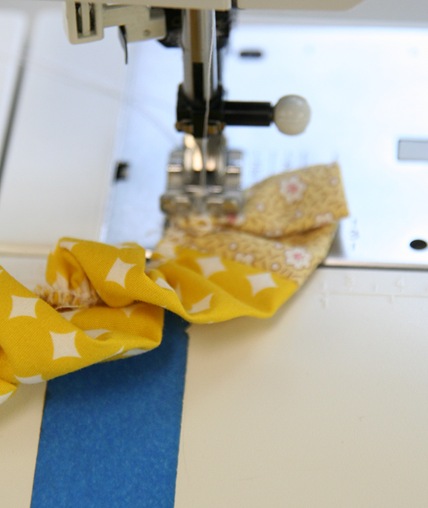
With your sewing machine….increase the stitch length as high as it will go (a 4 on my machine) and increase the thread tension as high as it will go. Now sew down your strip again right along your sewn/serged edge. The strip should gather as you go. If it is gathering TOO much, lower the stitch length (see picture below for how much mine gathered)
**** I tried this gathering method on a computerized machine first and it would NOT work. When I switched to the older, manual machine it worked like a charm. So if this method isn’t working on your machine…you can either gather it by hand by folding and scrunching the sewn edge as you sew over it, or use a gathering foot. Because the strip is so long it won’t work to sew down it with a large stitch length and pull the bottom thread.
This is what it should look like after its sewn:
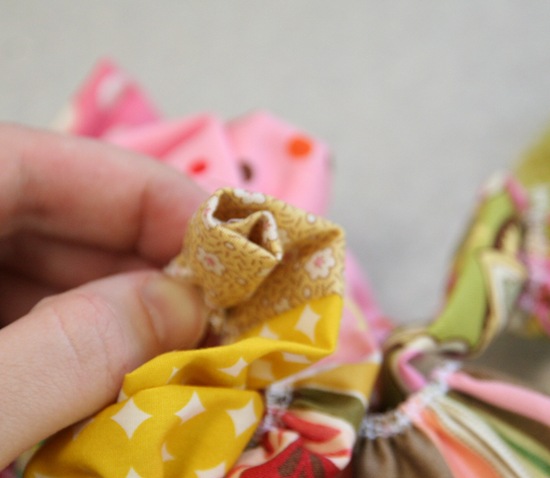
Starting with the end you want as the center of the flower, fold the raw edge down and make the center of the flower by folding the strip around it. Sew in place either by hand or machine with a few stitches.
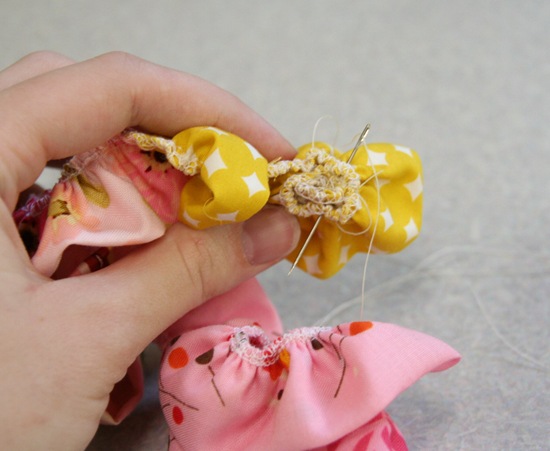
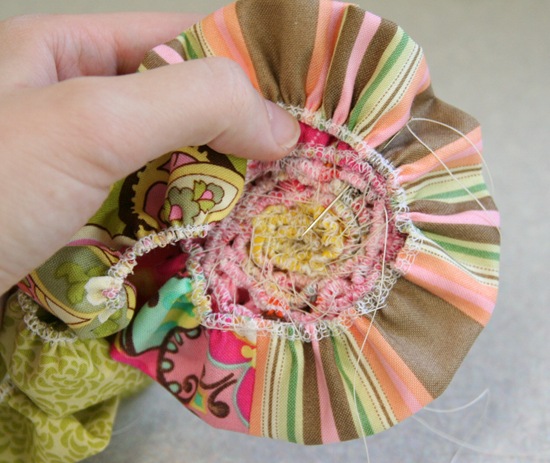
Continue to wrap the sewn/serged edges around the center, securing the edges to the center with your needle and thread. I put the needle and thread all the way through the center for the first few layers.
As you continue adding the layers the center will have a tendency to stick out, but try to keep the sewn edges lined up and flat. Also as you add more and more layers, you can secure the layers to the previous layers with a stitch every half inch or so. If you secure the layers loosely to the previous layer, you’ll get a better result.
This takes a little bit of practice, but I’m also quite possibly the worst hand sewer ever, so chances are you’ll do it perfectly the first time.
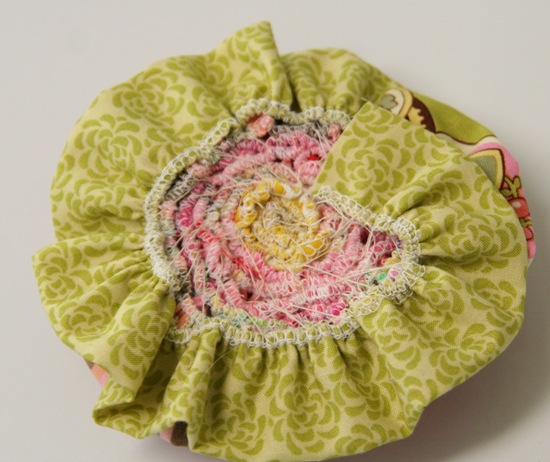
When you get to the end, or the flower is as big as you want it, cut off the end and tuck the end to the back. Secure it with a stitch and knot your thread off.
Make sure your flower is just right and poke the center down a little if its sticking up too much to make the back flat.
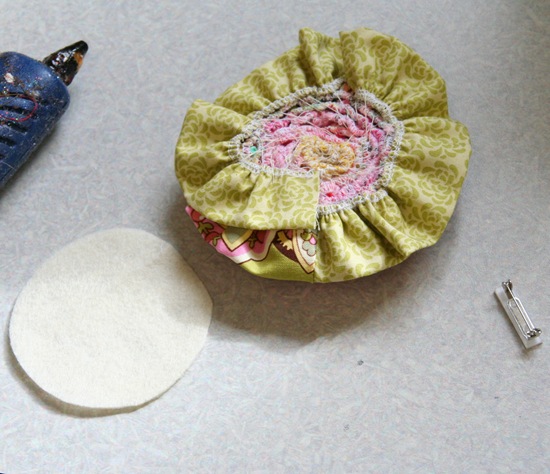
Cut a circle out of your felt, just big enough to cover all of the sewn / serged edges.
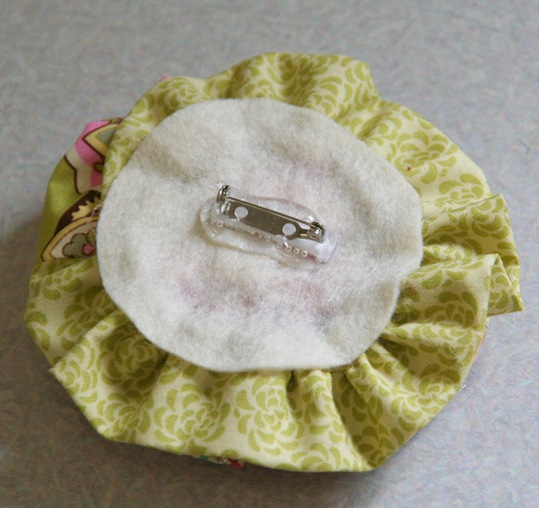
With your hot glue gun, cover the backside of your flower with glue, then press the felt onto the back.
Then hot glue your broach bracket to the felt. (think I used enough hot glue??? I’m paranoid)
And there you have it, your cute scrappy flower you can attach to just about anything.
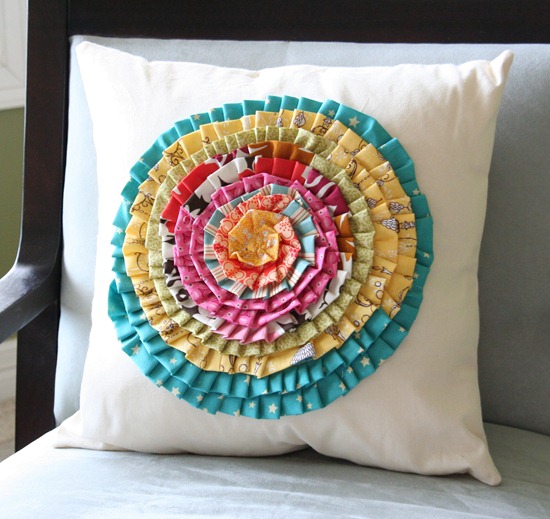
To make the cute pillow below, make an extra long strip (about 7 ft. long…you can cut the length off if its too long) and sew it onto the pillow, pleating it as you go instead of gathering the strip on your machine.

See what we mean? Too many wonderful creative flowers to choose from!

