
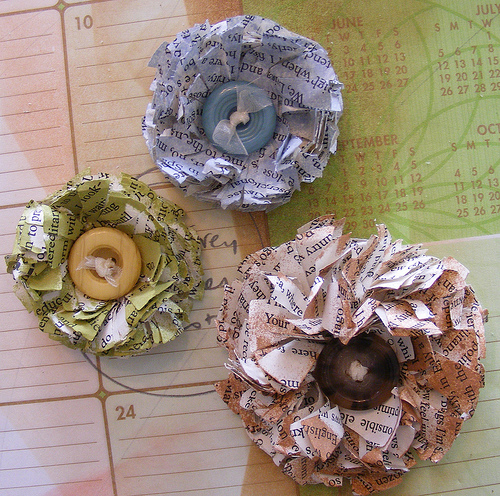
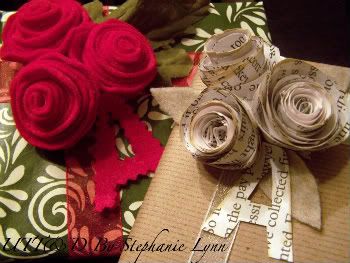
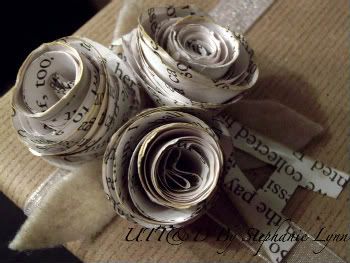
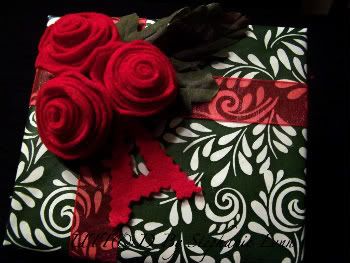
She used the flowers to make wonderful tree ornaments, but I made several of these as hat clips and hair clips...
Thanks Stephanie!
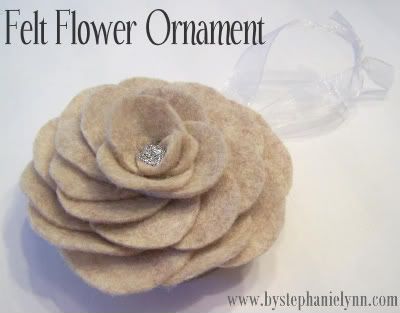
Felt Flower Ornament
Felt Flower Ornament
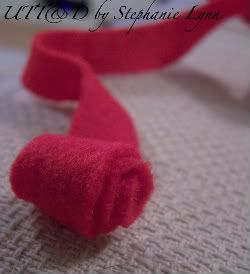
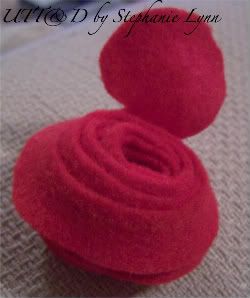
Materials Needed:Felt
Clean Metal Jar Lid
Ribbon
Embellishments {glitter}
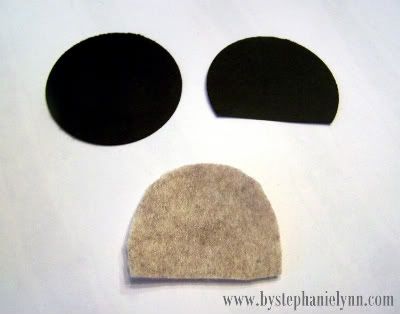
Begin by making a template for the petals. I used a 1 1/2 inch circle punch to cut a circle out of cardstock, slightly trimming off one end. {You can also hand cut a circle if you do not have a punch}
Trace your template onto a piece of felt and cut out. I needed 11 petals of this size for the 2 1/2 inch diameter lid that I used.
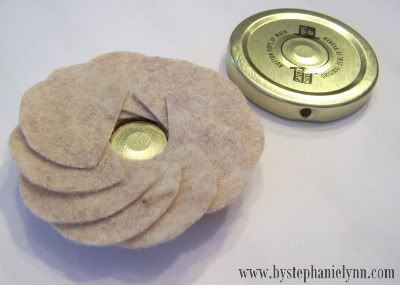
Prepare your clean jar lid by drilling a hole into the side for the hanger. Hot glue the petals around the outer edge of the lid.
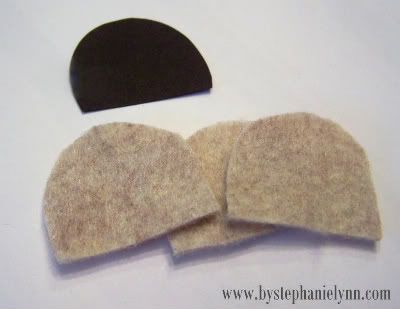
Take your original cardstock template and trim a little more off the bottom, just about a 1/4 inch. Trace and cut 15 more petals of this size.
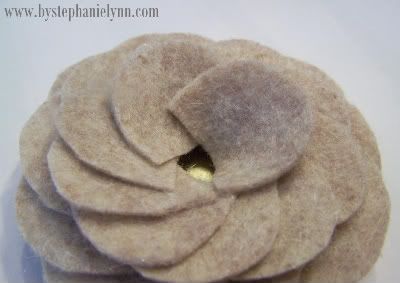
Continue hot gluing overlapping the first layer of petals.
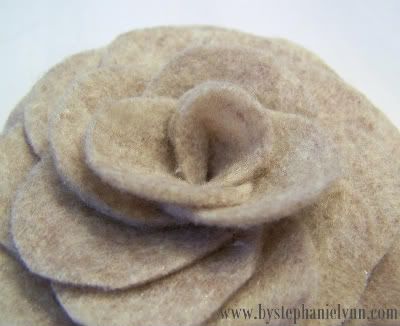
When you get to the center you will have to trim the last two petals to fit; folding and tucking them in.
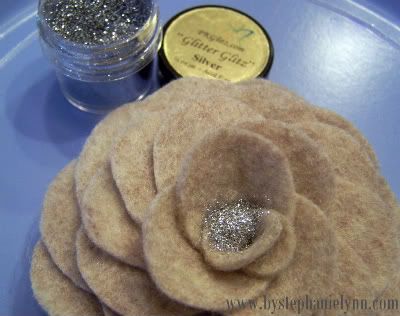
Embellish the center if you like. I place a dab of hot glue and sprinkled PK Glitter Glitz in Silver on top; Let sit to dry and dust off the access.
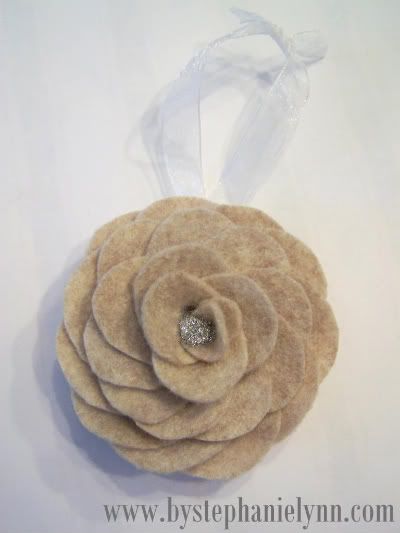
Finish off by threading the cut ribbon through the drilled hole for the hanger.


