
I participate in a 'Stampin' Up' class one night every other month, and my instructor Barb Jepsen is a paper crafting rock star! She taught us the awesome craft at the last class...

- 1 8 1/2"x11" Transparency sheet
- Paper slicer/scorer
- Scissors
- Adhesive
- 1- 8 1/2"x11" sheet color paper
- 1- 4x6" white paper (or scrap)
- 1- 9" piece of ribbon (or longer if you want to tie a nice bow)
- 1- 5" piece of ribbon for the card
- stamp & ink
- 2 flowers, rhinestones, or any embellishments you want
- 1 mini paper clip
- Candy (my favorite part)
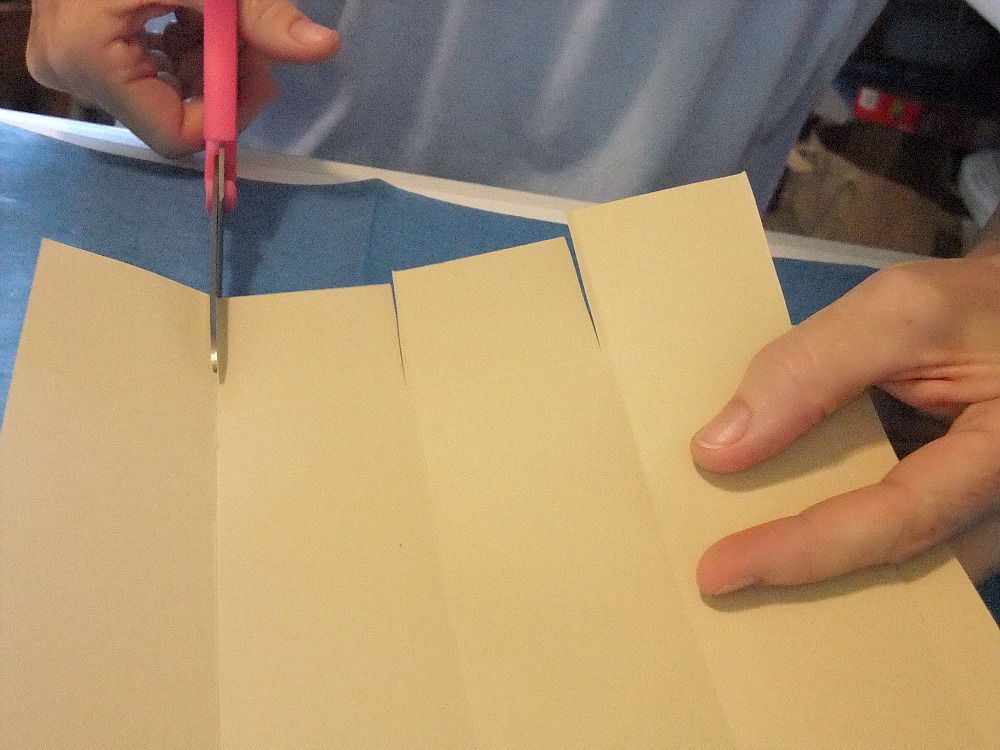
With the 8 1/2 side of the paper at the top, score a line downward every 2 inches (3 score lines).


Run a continuous adhesive strip down the 1/4" side (make sure the score folds are facing up-toward you).
Use a very good adhesive or tacky strip on the transparency to hold the box together.


From your color piece of paper cut a strip that measures 8 1/2" x 2". If you want to, trim one of the 8 1/2" sides with a decorate cut.
Score this piece of paper every 2" along the 8 1/2" piece. Lightly fold at the score marks.
Secure it to the base of the carton with adhesive (you can place it anywhere you want to, I made 1 with the paper lined up with the bottom, and 1 set at a slightly higher place).
(I like to tuck the 1/4" folded piece behind the paper so that my seam ends on the edge of the box)


Cut your small piece of white paper to a 4" x 2" piece. Fold in half. Simply glue the remaining 5" ribbon piece around the front of the card, trimming ends for just a slight overlap again.


Fill your box with the candy you have chosen (I used Almond Joy Pieces), pinch the top of the box closed, forcing the sides inward, and secure the card to the top with a mini paper clip (I bought a box of 25 at my local Office Max for about $5.00).


TA DA!
It's finished!

I'm not sure how helpful this tutorial will actually be for you, my instructions probably don't make a great deal of sense, but the pictures should help!
I would love to see pictures of any that you create, so stop back and post a link or two!
We're linking up with:

We're linking up with:
