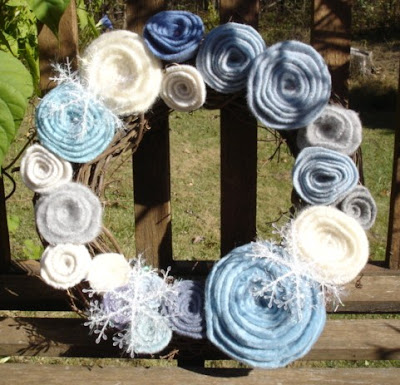
Ellen, from Ellen's Creative Passage in Columbia Missouri has a very detailed, helpful tutorial on her blog about making these flowers and a beautiful wreath that she created using the flowers.
The directions belong to Ellen, but the pictures are my efforts at making the flowers. These are definitely keepers, and I will be making more of them!
Supplies needed: hot glue gun and glue sticks, scissors, circle patterns (I used bowls), felt (I use wool felt, but you could also use regular felt), and a marking pen
Start by making circles all over your felt...
 |
| (Amber used regular felt which is lighter weight) |
Now cut out on the inside of the marked line. You can also just free hand the circles like I do, but I thought I would show you the scientific way to do it!
Now you have your circles all cut out for each of the flowers...
I drew on this circle to show you generally how I cut mine out. I usually do not mark each circle like this, I just free hand cut each one. You want to start cutting at the outside of the circle and spiral in toward the center, leaving a larger circle in the center which will become the back of the rose.
This is what you have now...
Next pick up the outside or the pointy end of the felt
and begin rolling it up keeping the bottom flat...
keep rolling until you are close to the circle you left...
and this is what you have.
Adjust the circle so that it covers the bottom of the rolled area. You can see that I made my circle too small, so I am laying part of the cut area on the back of my rose to cover it all.
Now add some hot glue to the flat back area and attach the circle to cover the back.
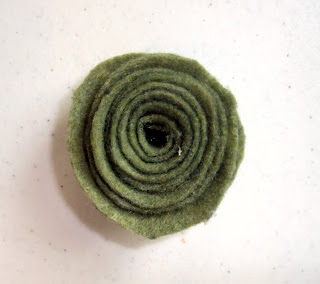
Now it actually looks like a rose...
Now trim the excess on the petals to even it out. I don't always make it really even, because I want a more natural look (yes, even though they are blue roses!).
Now look at the edge of the bottom of the rose. It will probably look really uneven...
Trim off the excess with your handy dandy scissors...
Ta-Da!! You have a finished rose!!
Here is what I made with my 3 flowers...
And here is what Ellen made over on HER BLOG for a truly fantastic and much more detailed tutorial along with the instructions on how to make this fabulous wreath!


